
Kimberly Stelzer's Cherry Quick Canning Recipe
- Meg Jenkins
- Jul 23, 2025
- 5 min read

Updated: Jul 25, 2025
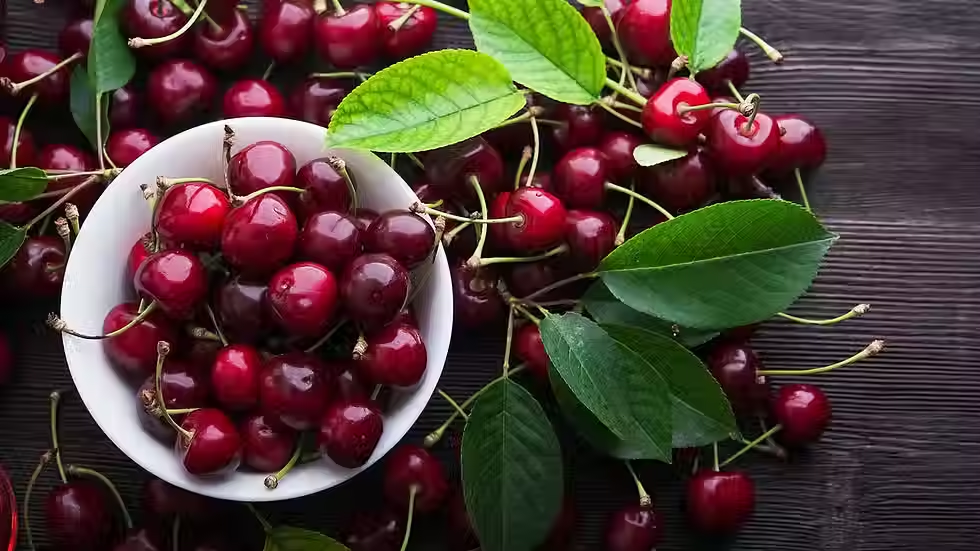
It’s here, it’s here! Cherry season is finally here!
Ask anyone, and they'll tell you that Azure’s cherry harvest is the highlight of the year—as far as Azure orders go, anyway! We're enjoying another bumper crop of cherries, and we're selling them at ridiculously great prices (40% off!). Our cherries are grown in the cool climate and volcanic ash soils of the Pacific Northwest, arguably the best place in the world to cultivate sweet cherries (among other fruits, such as pears and apples). Since they only come around once a year, I always stock up on this incredibly nutritious fruit.
What do you do with bushels of sweet cherries? You process them fast, because as we all know, soft fruits don’t last.
Our Azure Canning Co. jars are ideal for storing your cherries to last throughout the year. And cherries are one of the very simplest of fruits to can. You can process them with or without the pits—the first year I bought cherries, I didn’t have a cherry pitter, so I canned them with the pits just to get the task done quickly! But getting a cherry pitter is a purchase you won’t regret. This tool saves you hours of pitting time.
Scroll down for the Stelzer family instructions for quick-canning cherries!
Kimberly's Quick Canning Cherry Instructions
by Kimberly Stelzer, wife of the CEO
"We really love sweet cherries, so when the harvest comes in, we use a water bath canning process to store them for year-round enjoyment! It’s so simple and quick. I stuff my clean jars with cherries (you can remove the pits if you have time, but often I just leave the pits in). Then I make a syrup, using the ratio David’s mom, Oma, taught me, which is 1 part honey to 4 parts hot water. Hot water melts the honey to make a nice syrup, and I just pour that into the jars to cover the cherries. This ratio works for most fruits, but if you prefer a sweeter syrup, you can use a 1:3 ratio. I put on the Superb lids, and then do a simple water bath canning, bringing the pot to a boil. Use boil times according to recommendations for your elevation. The minimum recommended process time for cherries is 15 minutes. (The longer you leave the jars in the boiling water, the softer the cherries become, so you may want to play with timing to match your own preferences. Our family prefers a very short boil time.) I remove the jars from the boiling water, and set them on a wooden cutting board to cool and seal. Now you have cherries ready for storage in your pantry—with minimal effort and maximum flavor!"

If you're new to canning, here is a step-by-step guide
How to Process Cherries:
Wash your jars, lids, bands, and any other tools you plan to use in hot, soapy water. You’ll want to plan the correct number of jars for your recipe.
Begin by sterilizing the jars. Place your canning rack inside the canning pot. Load with your empty canning jars. Fill the open jars (without lids) and pot with water to 1” above the rim of the jars. Place on your stove and bring to a boil. You’ll want to plan ahead, having your produce ready to add to the jars as soon as they are sterilized, with no lag time between. Boil for 10 minutes to sterilize the jars.
Prep your cherries, removing stems. Rinse to remove any dirt, and avoid using overripe fruit or fruit with damage. You can remove the pits or leave them in! We do it both ways, depending on how we plan to use the fruit later (and, of course, on how much time we have!)
Using a jar lifter or tongs, remove jars from the hot water and pour the hot water out. Place hot jars on a clean surface. (I like to use a board).
Pack your cherries into the jars.
Prepare a syrup mixture using 1 part honey to 3 parts very hot water (you can also use sugar if you prefer). This is when a ladle or a funnel can be helpful. Pour the syrup over your cherries, leaving about ½ inch of headspace, meaning do not fill 1/2” space below the top of the jar. (As a general rule, you’ll leave ½” inch headspace for fruits and tomatoes. All canning recipes specify the amount of headspace required.)
Use a nonmetallic bubble tool or a spatula to gently scrape along the inner sides of each jar, releasing any air pockets.
Using a clean, damp cloth soaked in white vinegar, gently wipe the top rims of the jars to remove any food or syrup residue. This will help ensure a proper seal. Place a lid (freshly cleaned in hot, soapy water) on each jar, then a band. Using just three fingertips, screw the bands on to finger-tightness. Do not over-tighten! Using just your fingertips to twist will prevent you from overtightening, which interferes with a proper seal—air must release from the jars during processing and cooling.
Carefully lower each filled and lidded jar back into the canner. When all the jars are loaded, the water level should be 1-2 inches above the tops of the jars, ensuring they remain covered with water throughout processing. Cover your canning pot with its lid, and return the pot to a boil. Begin timing the canning process when the water begins to boil.
Leave the jars in the boiling water for the entire processing time. Every recipe will have a recommended time, and to ensure food safety, it is important to follow these tested times. For cherries, the recommended processing time is 15 minutes for pints and 20 minutes for quarts. Make sure the boiling is continuous; if it is paused, you have to restart your time. (If you live more than 1000 ft above sea level, you’ll need to adjust the processing time. See the Altitude Adjustment Chart below). When the time is up, turn the burner off, remove the pot’s lid, and let the jars sit for about 5 minutes in the hot water.
Using jar lifter or tongs, remove each jar from the water-bath canner. I like to place mine on a wooden cutting board or a towel-covered surface, with at least an inch of space between jars to allow air circulation. Allow the jars to sit here for 24 hours, without being moved and without tightening bands. Just let them rest, so as not to interfere with the seal formation process. Do not expose jars to any sudden temperature changes.
Lightly press on the edge of the lids to ensure a proper seal has been made. Another benefit to using Superb lids is they have a distinctive popping sound that lets you know a seal has been formed.
After at least 18 hours have passed, carefully remove each band and wipe each jar clean. Store in a cool, dark place. We recommend storing your canned foods in a cool, dry location away from sunlight, ideally between 50 °F and 70 °F (but temperatures above freezing and below 85 °F are also acceptable).
ORDER YOUR CHERRIES NOW - They'll be gone before you know it!
ADD SOME MORE AZURE CANNING CO. JARS TO PRESERVE YOUR CHERRIES!


Comments